8 tips for choosing a primer for wallpaper
Masters know that before embarking on Wallpapering, it is necessary to properly prepare the walls and primed them. Beginners often make an unfortunate oversight, believing that the invisible primer layer is not so necessary. As a result, they get a bitter experience with peeling off wallpaper, a huge consumption of glue, and if they are not very lucky, they also have mold spots. We understand why wall priming, how to do it and what is important to consider when choosing a primer for wallpaper.

Why prime walls with wallpaper?
The primer on the shelves is presented in a huge variety. All these buckets, cans and jars can drive an unprepared person crazy. But despite some differences in composition, under primer (or primer) always means a liquid or thick suspension, which is usually odorless. As a rule, the primer has a white or milky color, sometimes it is transparent, but it can be of a certain shade. Sell the primer in a ready-to-use form or requiring dilution with water (concentrate). When the composition is absorbed and dries, it should not form a film on the surface. His task is to penetrate into the base and fasten it as if from the inside.
Earlier, instead of the primer, PVA glue, simply diluted with water, was used, but this option has a big minus - PVA is not a moisture-resistant material, and with increasing humidity during the transition periods autumn / winter or winter / spring and the absence of heating, the wallpaper can peel off from the walls. Such a primer is better than none at all, but it is much more effective to use specialized formulations designed for use in certain conditions. A modern primer is specially prepared (highly purified) water, various polymer resins and various additives that give the composition special properties and simplify working with it. Water allows the material to penetrate well into porous surfaces. As it dries, water evaporates, and polymer particles hold the base together and give it protective properties.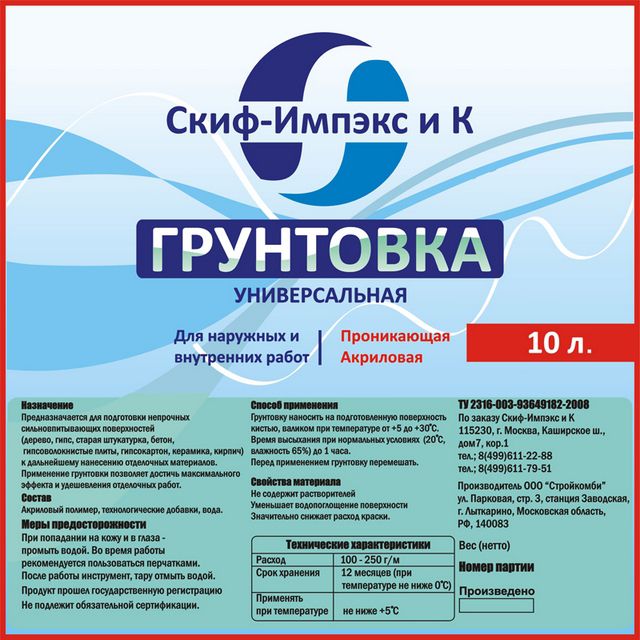
On the packaging you will definitely see information about the purpose of the primer, the features of the application, the flow rate and the drying time. The primer is not a particularly expensive building material, but many prefer to save on this expense item. This approach is irrational because priming the walls under the wallpaper performs a number of important functions:
- foundation strengthening, This is especially necessary for porous and loose walls. The primer also binds dust particles well, which interfere with the quality fit of the wallpaper;
- cracking prevention and shedding of the base, since the primer penetrates deep enough and fills the pores well;
- film on the wall and pores filled with primer do not allow active absorption wallpaper glue, as a result significantly saving its consumption;
- improved adhesion between the wall and wallpaper glue, because the risk of peeling of glued canvases is reduced at times;
- wall tone leveling, concealment of minor defects, which is important in the case of using thin light canvases;
- antiseptic primers allowprevent fungus from appearing on the walls and mold;

- the primer allows you to maintain an optimal microclimate, it does not prevent the walls from passing moisture vapor, therefore the surface remains breathable.
Is it possible to do without priming the walls? If you want the wallpaper to stay on the wall the planned time until the next repair and the quality of work is in the first place, then it is better not to neglect the priming of the walls. If you know for sure that after 2-3 years you will be able to re-stick the wallpaper, then you can do without primers. Neglect this procedure in the case of repairs in non-residential premises or when using very light paper wallpaper. But think a thousand times before giving up the primer, which is inexpensive and easy to apply.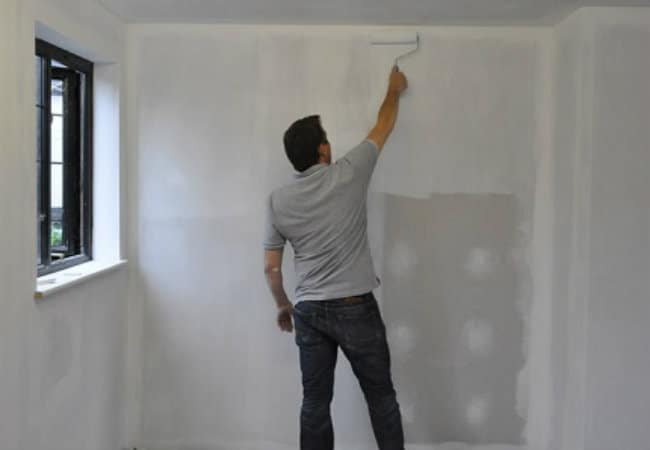
Types of primers by composition
Gone are the days when the only possible primer was glue diluted with water. Now there are so many different compounds that a person quite experienced in matters of repair can be confused. What can we say about the newcomer, who decided to paste the wallpaper on his own at home! To make it easier to navigate in the widest variety, we propose to classify primers according to various criteria.
By the composition of the primer there are:
- acrylic;
- latex;
- acrylate;
- alkyd;
- mineral;
- glyphthalic;
- perchlorovinyl.
Acrylic primer
it universal compositionprevailing on store shelves. It is made on the basis of styrene-acrylate dispersion, used for internal work, applied to brick, plywood, wood, drywall, plaster and concrete. The composition is practically odorless, can be used with any type of wallpaper, dries quickly - no more than 2-4 hours. It penetrates deep into the base. Limitation - it is impossible to cover ferrous metal with the composition and this type of soil is not very resistant to high humidity and water.
Apply a primer in 1-2 layers. When working with drywall, it is better to use two layers: one - for putty, the second - after putty, for wallpaper. This is necessary so that during dismantling do not remove the canvas with putty.
Most often on the shelves you can find a universal acrylic primer, but adhesive, impregnating primers, deep penetration primers and special solutions that are most suitable for working with a specific material are also available. Form of sale - ready-made solution or concentrate. Antiseptic additives may be included. The consumption of acrylic primer depends on the condition of the base and the composition of the soil, ranging from 80-250 g / m2.
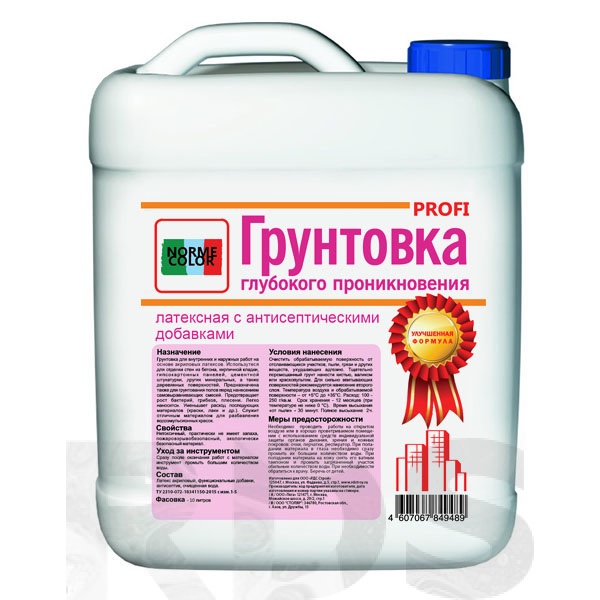
Latex primer
It is made on the basis of synthetic latex, which, like the natural analogue, has high strength, elasticity and water resistance. Latex primer perfect suitable for loose substrates, the composition can even be applied to crumbling surfaces of wood, plasters and putties on a different binder. It is great for applying on wood, fiber boards, porous wall materials, i.e. bases with strong absorbency. In addition, the primer increases the moisture resistance of the surface. The adhesive properties of it are quite high, but slightly lower than that of acrylic primers. The composition is evenly distributed and dries quickly. Consumption - 350-500 g / m2. Limitations - it is not recommended to apply on substrates with high density or poor absorption, for example concrete. Creates a film and thereby greatly reduces the release of moisture vapor from the base.
Acrylate Primers
It is made by mixing acrylic and latex resins with the addition of special additives, for example, such as antiseptics. This type of primer is the most universal at the moment in the market of building materials.These primers are recommended to be used both inside and out, for any kind of substrates, with the exception of metals and building plastics. This primer is used before plastering, puttying, painting, wallpapering, gluing tiles and forming a screed or self-leveling floor. Also, the drying time (4-6 hours), low consumption of 80-200 g / m2 (depending on the absorption of the base), moisture and water resistance, and the absence of odor can be attributed to the pluses. Limitations - when priming monolithic concrete, it is necessary to dilute with water 1 to 1 (per 1 l / soil * 1 l / water).
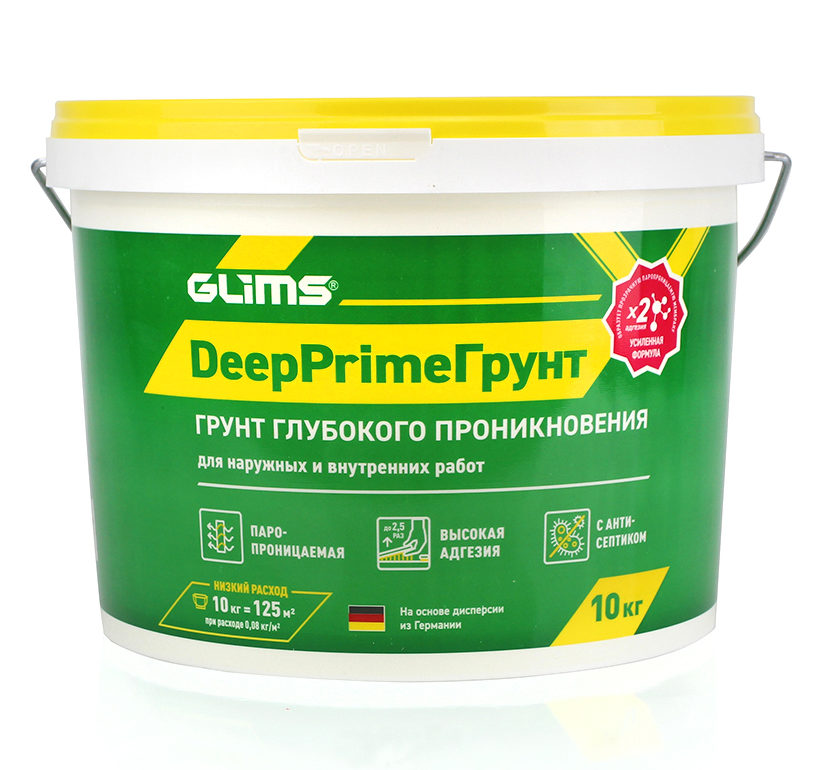
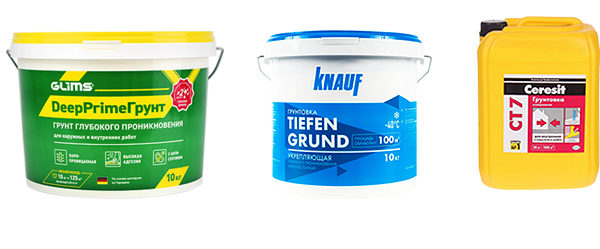
 We recommend using the Glims PrimeGrunt and Glims DeepPrimeGrunt deep penetrating primer, which perfectly strengthens the base and contains an antiseptic to prevent the development of mold and fungus. The composition can be applied to concrete, drywall, brick, plaster and putty, it perfectly binds dust and reduces the absorption capacity of the base.
Alkyd primer
Alkyd primers - the perfect solution for processing wooden surfaces (wood, chipboard, fiberboard, OSB), but also used when working with concrete and reinforced concrete substrates. The composition well fills the pores of the upper layer of the material, preventing the swelling of wood and the penetration of moisture into the concrete.
The primer can be used for indoor and outdoor use, forms a fairly viscous layer that can cope not only with wallpaper, but also with tiles. The mixture may include zinc chromate or phosphate. For further work with wallpaper, the second type of mixture is more suitable.
The main disadvantage of the composition is a long drying time, up to 14-16 hours. In addition, the primer has a pungent odor and does not penetrate as well as other formulations. It is not recommended to apply it on drywall, gypsum and plaster. Primer Consumption - 100-150 g / m2, if necessary, the composition is diluted with white spirit or xylene.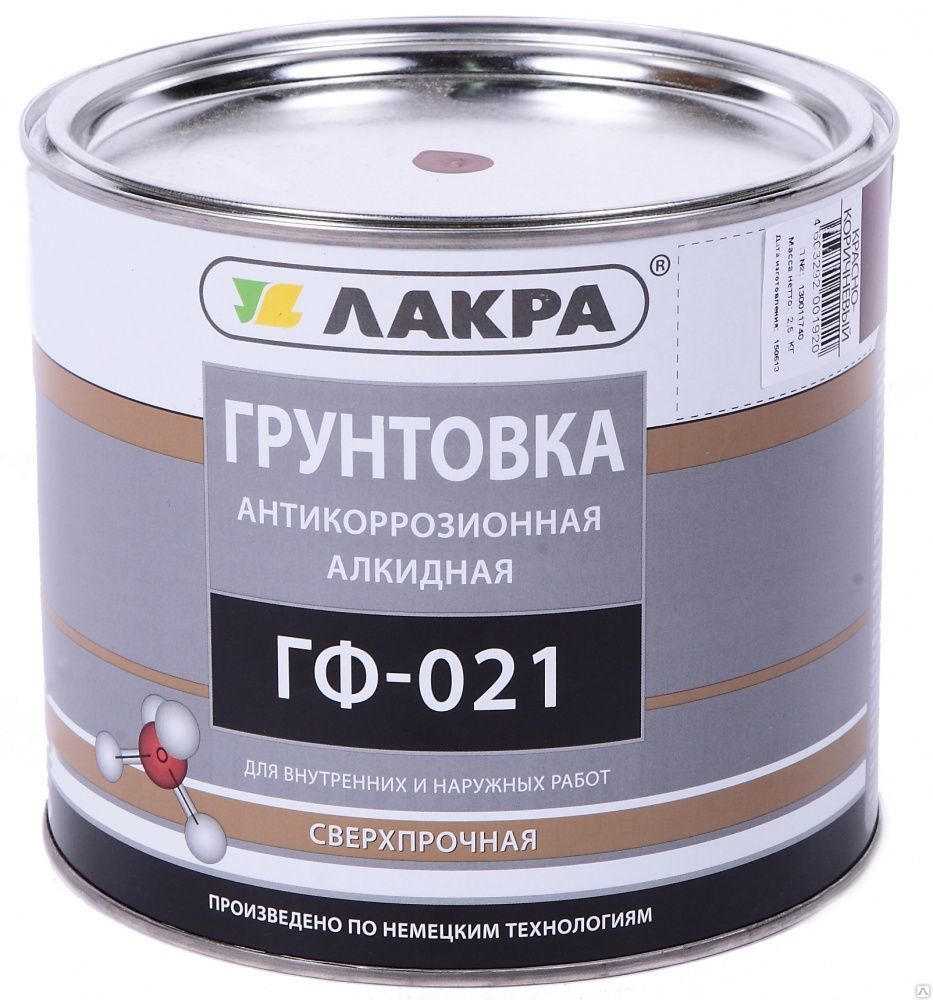
Gliphthal primer
Ideal primer if necessary to process a metal surface, for example, in the garage. The composition is very durable, does not wear out, it even resembles enamel, it makes the surface more homogeneous and even. Before applying, be sure to clean the metal from rust. The composition can also be used on wooden surfaces. The primer is absolutely non-toxic, you can work with it without protective equipment, but it dries for a long time - from 8-12 hours to a day.
Vinyl chloride primer
Great for metal surface treatmentIt can also be applied to concrete and brick. The composition dries quickly - literally an hour after application it will be possible to proceed to wallpapering. It can be applied at sufficiently low temperatures. The primer has good adhesion and antiseptic properties. The main disadvantage is high toxicity, therefore it is worth approaching the choice of protective equipment very carefully.
Mineral Primers
They are made on the basis of gypsum, cement or lime, ideal for working with concrete, gas silicate, expanded clay concrete and brick. The composition perfectly fills the pores of the base and allows you to achieve perfect smoothness. When choosing, pay attention to the main component that is part of the primer. For example, if lime is a part of a surface, then choose calcareous or gypsum soil. The primer is almost odorless, dries quickly (although there are compounds that dry up to 24 hours), it is great for primary surface treatment, but such compounds are rarely used.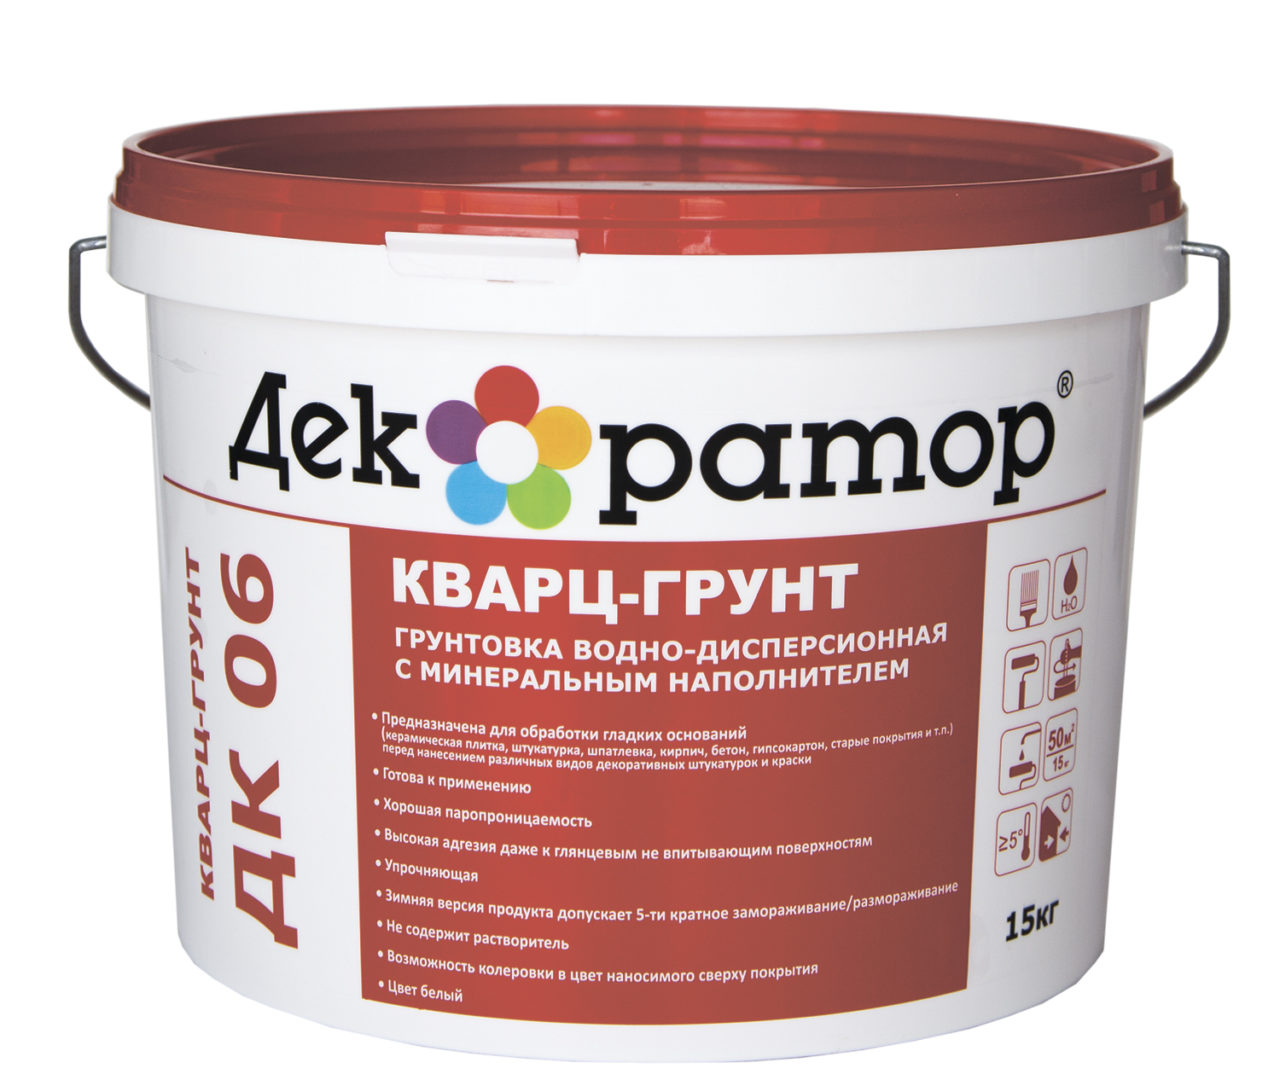
Wallpaper glue and PVA as a primer
Some still prefer not to splurge on a separate primer and use wallpaper glue diluted in water. This solution will allow you to slightly strengthen the surface and reduce the consumption of glue during wallpapering, but you can not compare the results with surface treatment with a primer.Wallpaper glue will not be able to strengthen the surface so qualitatively, give it antiseptic properties and smooth out flaws. If this does not scare you, then before proceeding to work, make sure that there is a mention on the packaging with wallpaper glue that the material can be used as a primer. The proportions for mixing with water must also be indicated in order to obtain a primer.
Usually, casein-based glue is used for these purposes, but other formulations may be used. The consumption will be approximately 70-100 g of glue per 1 m2 walls. The composition dries for about a day.
It is allowed to use the usual PVA glue. It is made on the basis of polyvinyl acetate, hence the name, and for the preparation of the primer, chalk, gypsum, alabaster, drying oil and, of course, water are added to it. It turns out economically, but it could not do without minuses - PVA glue tends to turn yellow over time, because if thin light wallpapers are chosen, then this method of preparing the walls is definitely not suitable for you. Also, during subsequent repairs, you will have to tear off the surface film from PVA, since it is impossible to putty and level the walls.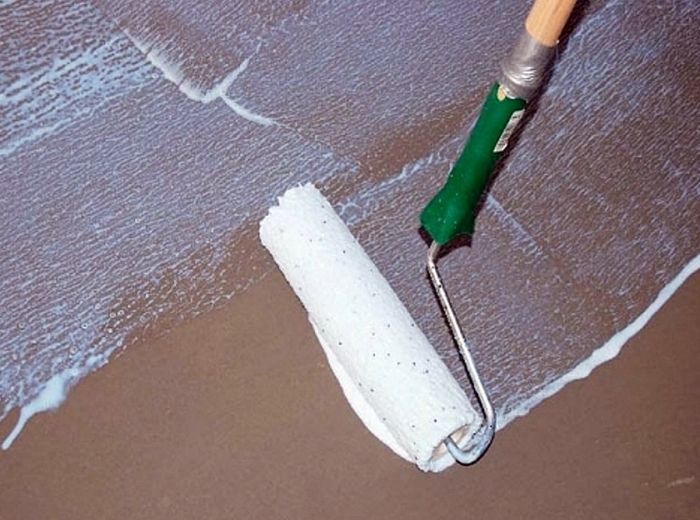
Types of primer as intended
The primer can be divided into:
- universal water-based suitable for indoor and outdoor use, can be applied on almost any basis;
- deep penetration primers. Transparent, characterized by a liquid consistency, designed to strengthen the base, dust binding, you can not do without them when working with loose and old surfaces. They are also necessary for repairs in rooms with high humidity. In the kitchen, for example, such primers will prevent the development of mold if there are antiseptics in the composition. Depending on the composition and manufacturer, such primers can penetrate the wall to a depth of 15 mm. Brick, concrete, gas and foam concrete, drywall surfaces without fail require the use of such primers. Do not do without them in the case of using heavy wallpaper. Deep penetration primers are inexpensive, but due to their transparency it is more difficult to apply, therefore, areas with a slightly different adhesive ability may appear on the wall;
- antibacterial and anticorrosive they contain special substances that prevent the emergence and development of pathogens and rust. Such primers are especially valuable when working in rooms with high humidity;
- antifungal also indispensable when processing walls that can be exposed to moisture (kitchen, bathroom, adjacent wall to the street, cellars and cellars, etc.) and bases already infected with mold and fungi. Until recently, antibacterial fluids based on various acids or solvents were present on the shelves, which adversely affected people and their health. After being used in the apartment, I had to leave for several days and during the operation these liquids continued to exude harmful fumes. But progress does not stand still and not so long ago new materials based on FUNGICIDES entered the market. Here they can rightfully be called PRIMERS, since they are practically odorless and do not exhale harmful fumes during operation. And the effect of their use is much higher and more durable.
- insulating composed of adhesives, resins and oils that form a water-repellent film;
- adhesive type concrete contact. Designed to work with poorly absorbent substrates (e.g. oil paint or smooth concrete). Particles of quartz sand are included in the primer, forming a rough film on the surface. This allows for better adhesion to subsequent finishing materials (plaster). Many manufacturers pigment these primers to simplify the application process.

Consistency primer types
Also, primers can be divided by consistency, on which the penetration depth of the composition depends:
- deep penetration liquid solutionsas a rule, they are transparent, penetrate the base 25% deeper than thick primers, they are designed for starting surface treatment, they can be used to strengthen the wall and bind dust. Such primers are inexpensive, but during operation difficulties may arise just because of their transparency - it is not visible where the layer is already applied and where it is not, therefore, there may be zones with different adhesive properties on the surface. Such a composition cannot be dispensed with when it is necessary to strengthen the base (it is old, loose, can sprinkle or crack);
- thick surface primers differ in white color, they can not only strengthen the surface, but also eliminate small irregularities, preparing the wall for finishing. Some of these primers contain an antiseptic. Less - penetrates into the structure of the wall is not as deep as the liquid composition.
Experienced craftsmen use two types of primer, the first layer applying a liquid primer, and the second a thicker composition.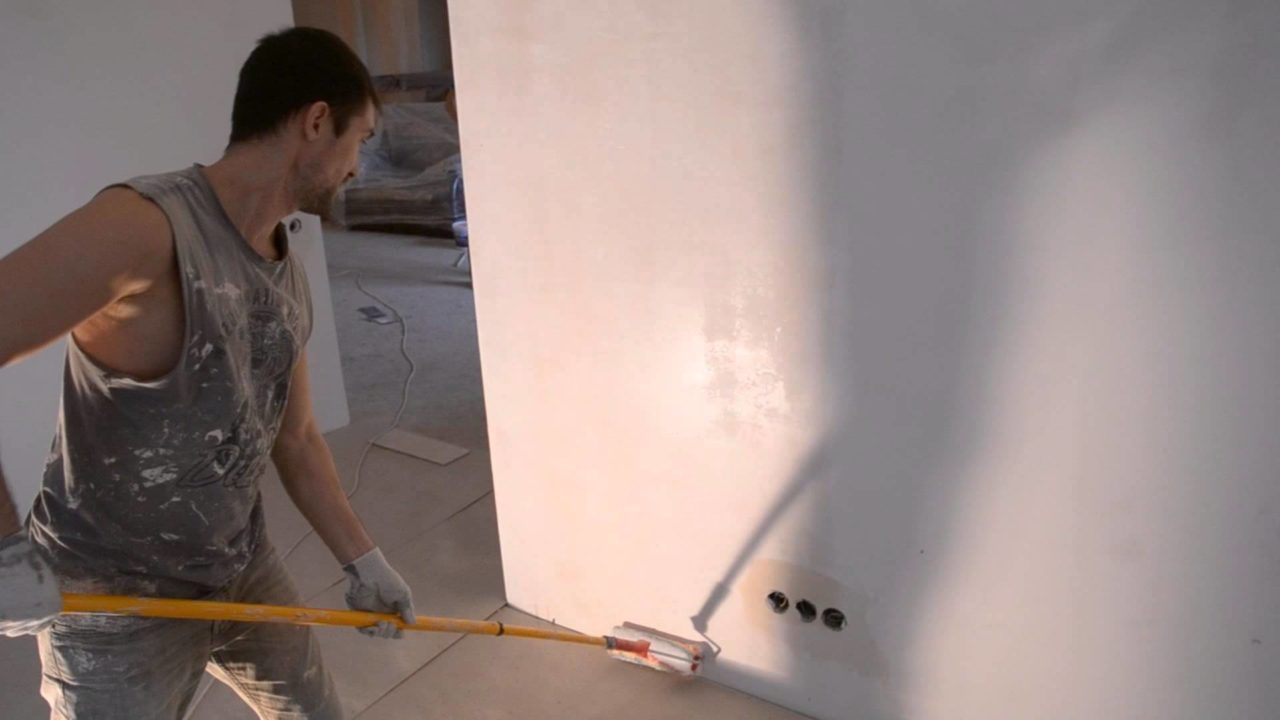
Primer at home
A ready-made primer is not so expensive, but some do not trust the production staff and prefer to prepare the composition on their own. It will be even cheaper, although some useful properties of a shop primer will have to be forgotten. We give several options for a homemade primer.
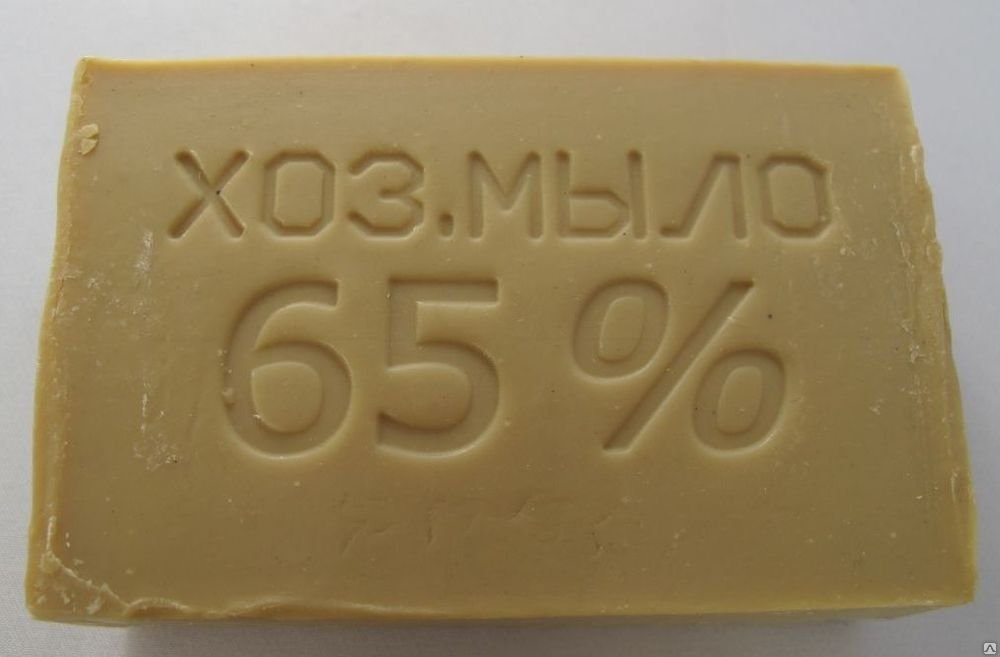
Lime and soap based primer
For 7 liters of pure boiled water, you will need 200 g of laundry soap, 2.5 kg of hydrated lime and 100 g of drying oil. First, 3 l of boiling water is poured into the container, grated soap is added and stirred until all the soap has dissolved. Then you need to add drying oil. In another container, lime is dissolved in the remaining boiling water, after which both solutions are mixed, thoroughly mixed and filtered through a sieve. It takes a couple of hours for the primer to cool, then it can be used to treat the walls. Minus - during subsequent repairs, you will have to peel the walls almost to the base, since drying oil after drying gives a film on which it is forbidden to apply finishing materials.
Sulphate-based primer
The composition has antifungal properties and is able to strengthen the surface. For 7 l of boiling water, you need 500 ml of wood glue, 150 g of copper sulfate and 1 package of laundry soap, which is better to grate in advance. For cooking, it is important to take a container made not of aluminum (it will react with copper sulfate). Prepared water is poured into it, heated to a boil and the soap is poured, bringing it almost to complete dissolution. Now you need to add vitriol and glue, while the container should remain on low heat for 30-40 minutes. The composition is regularly stirred so that there are no lumps. Then it is removed from the fire, filtered several times through cheesecloth, and the primer is ready for application. Less - copper sulfate is a poison for all living things.

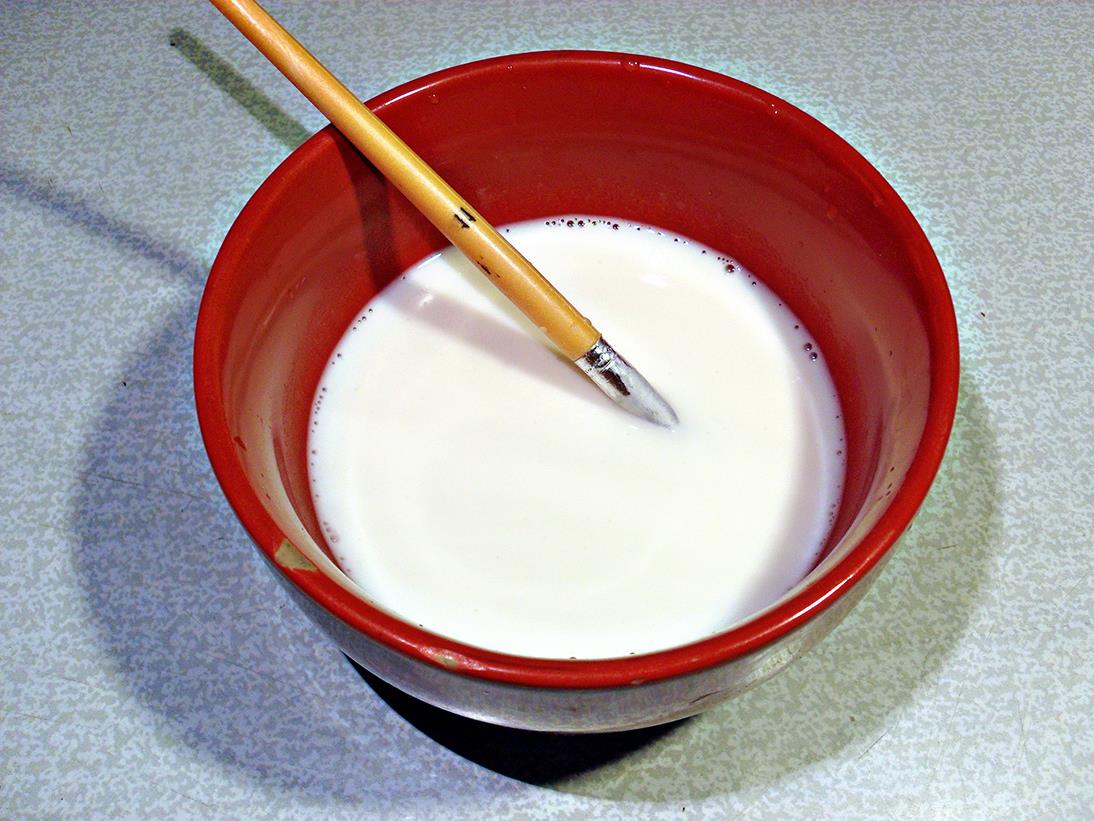
PVA based primer
This “recipe” will allow you to prepare a deep penetration composition. 1.5 liters of construction PVA are taken for 8 liters of boiled water. All glue is poured into water, mixed until completely dissolved, then chalk or cement is poured, mixed, cooled and filtered through a sieve or gauze. Less - not resistant to high humidity and creates a film on the base.
Primer consumption
Primer consumption depends on the type of composition used and the condition of the surface. Typically, the manufacturer indicates the range of consumption of its composition on the package. If this is a famous manufacturer, then you can believe his words. If you have before you a product from a little-known company that assures the high profitability of its product, then you can doubt it and add another 30-40% of the stock to the indicated figure.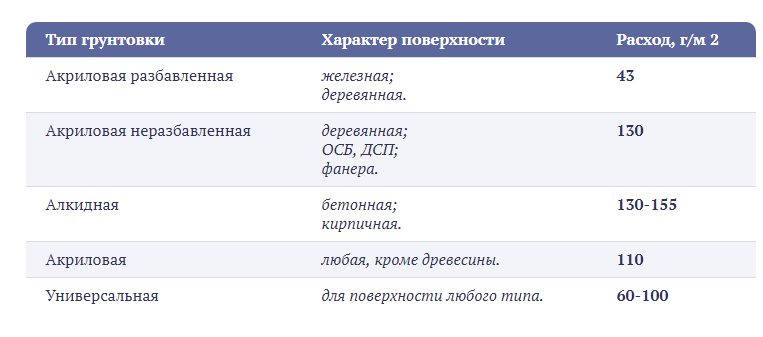
It is necessary to know the primer consumption in order to understand how much material should be taken. First, calculate the surface area to be treated, then, if necessary, apply two layers, multiply the result by two.Multiply the area by the primer consumption indicated on the packaging, and it is better to multiply the final result by 1.1. So, for example, the area of the walls is 40 m2, apply the primer in one layer, the manufacturer indicates the flow rate of 100 ml / m2. So, we need 4 liters of the composition, but with a margin of 4.4 liters, so you can safely take a bucket of 5 liters.
How to primer the walls under the wallpaper?
The more carefully each stage is completed, the more high-quality and durable result you will get:
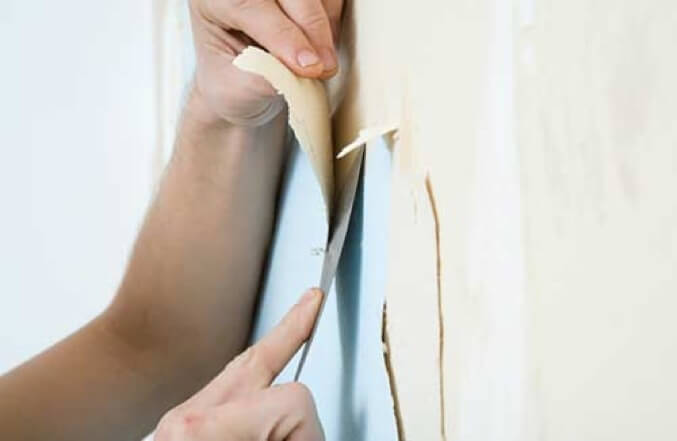
- start the process with cleaning the walls of the old coating. You must dismantle the old wallpaper, wash the plaster or peeling off peeling paint. Wallpaper can be removed with your bare hands, helping yourself with a spatula or knife (when the canvases literally fall off the wall), you can pre-soak the wallpaper and pry it with a spatula, also use special liquid and steam irons. Remove old paint by mechanical means (putty knife, chisel and hammer, drill, grinder), using solvents or high temperature (iron, building hair dryer). As a result, the walls should be completely devoid of the old coating;

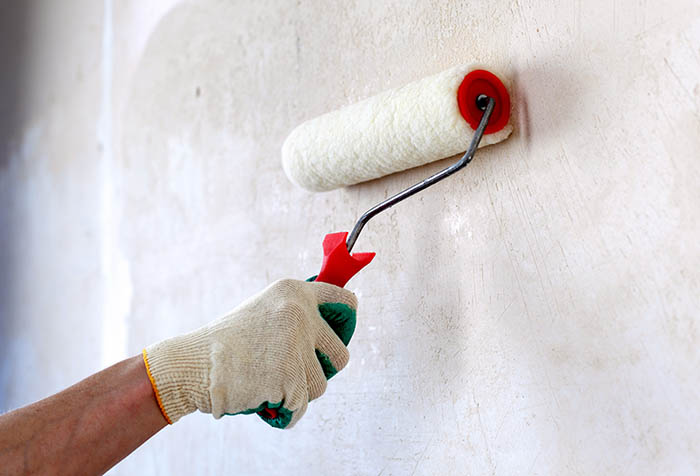
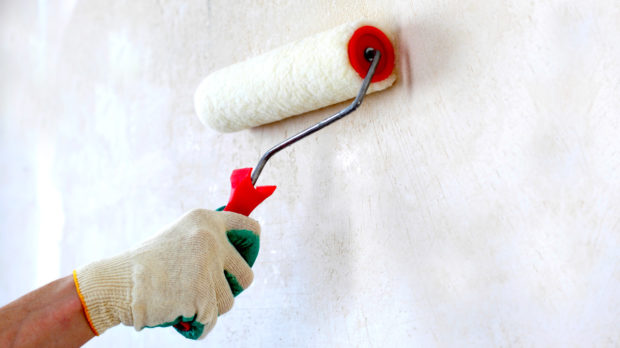
- the wall is likely to have various kinds of defects and will require alignment, but first on it apply the first coat of primer - composition of deep penetration. The primer, if necessary, is diluted with water (if specified in the instructions), poured into a container and using roller applied to the wall. Experienced craftsmen recommend moving from the bottom up, which will significantly save the composition, since it will not spray or drain down the wall;

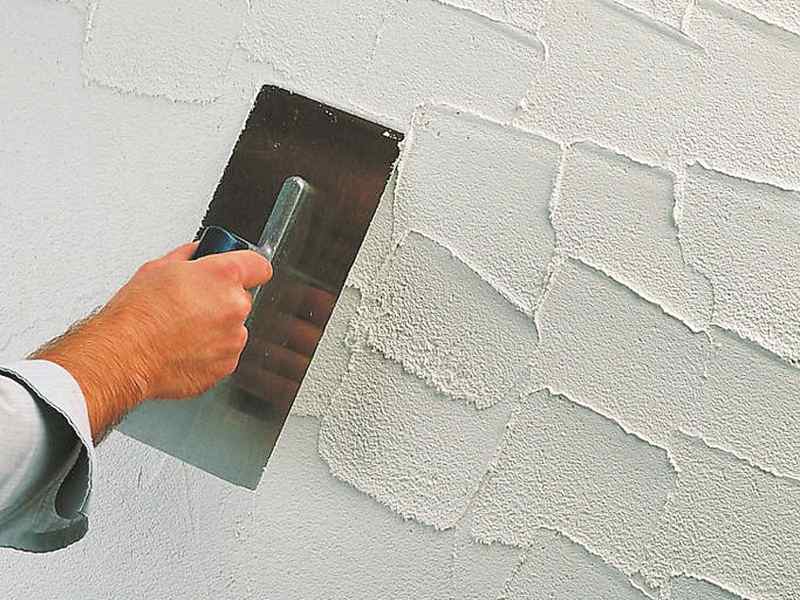
- when the first coat of primer is dry, proceed to align the walls. If there are few defects and they are uncritical, then you can do putty. If the base looks very bad (potholes, caverns and various kinds of destruction with a depth of at least 5 mm), then plaster. As a result, you need to get a smooth smooth surface, and the thinner the wallpaper will be used, the more carefully you need to perform work to level the base;

- when the putty or plaster layer is dry, go to finishing primer. The composition is poured into the tray tray, recruited using a roller (pile roller is better than velor and foam rubber), remove excess on the corrugated surface of the tray and apply the primer to the wall, moving from bottom to top. Hard to reach places are more convenient to handle with a brush with artificial soft pile. It is important to apply the composition without missing wall sections. If necessary, after the first coat has dried, a second coat is applied;

- to wallpapering start when the primer is completely dry. The manufacturer indicates the drying time, but it is better to wait a day. Masters advise to conduct the next test to guarantee. A thick plastic film measuring 15 * 15 cm is glued to the wall section with masking tape, left overnight. If there is no condensation under the film in the morning, then the primer has dried out well, and you can proceed to Wallpapering.
When working with primers with a pungent odor, provide reliable protection of the respiratory system, as well as organize the flow of fresh air. This should not be a draft, but quality ventilation.


