7 tips on how to properly prepare a brick mortar for masonry
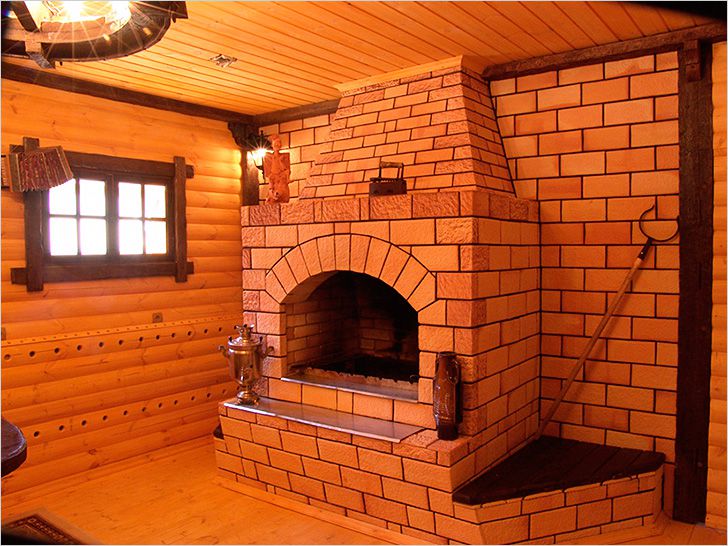
Stove heating is very popular. Firstly, there are still a lot of non-gasified territories and there’s simply nowhere to go, and secondly, heated by oven comes out much cheaper, thirdly, the stove heating in terms of environmental friendliness, it is several times greater than the centralized one. To build a furnace that will last more than a dozen years, it is necessary to take into account a lot of nuances, but the greatest difficulties often arise precisely with masonry mortar. It is not as easy to prepare a mortar for bricklaying a brick as a regular cement-sand composition, which is universally used for minor repairs. The operating conditions of the furnace are complex: its different parts are affected by temperatures from -30 to +10000C, and this is not counting the wind loads, so ordinary cement mortar, alas, can not cope. For different elements of the furnace, different compositions are used., and the final result depends not only on the cooking process, but also on the quality of the raw materials, and all this is important to consider.
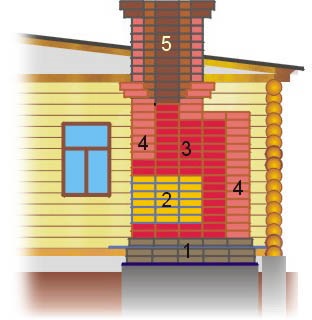
No. 1. Furnace elements and type of mortar
The furnace is a responsible design, the strength and durability of which depends not only on brick selected for her, but also from the mortar with which these bricks are held together. At the same time, a number of negative factors act on the stove, and since there is no single masonry mortar that can cope with frosts, the highest temperatures, and icing, have to use different compounds:
- for foundation, which takes on the main load, but does not experience any special thermal effects, you can use cement-lime or lime mortar;
- for heat storage part ovens exposed to temperatures up to 6000C and flue gas, best suited clay solution;
- for furnace partswhere the temperatures are maximum, and the chemical effect is not strong, you can take clay or clay-chamotte solution;
- for the source of the chimneyaffected by temperatures up to 4000C, fit clay solution, and for fluffing - lime;
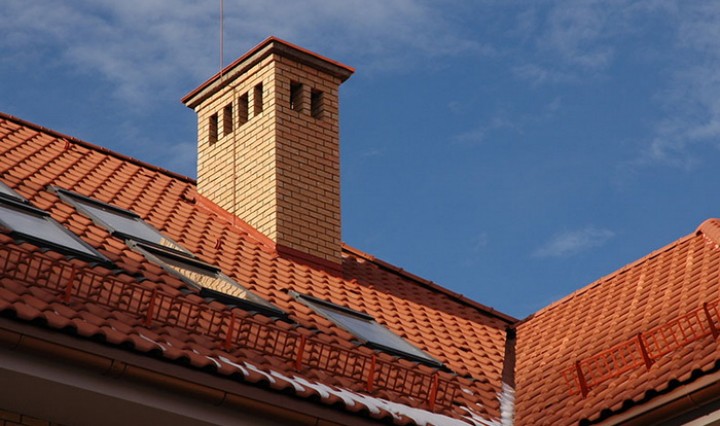
- for chimneywhere the temperature is low, but there are wind loads, suitable lime solutionSome even admit conventional cement.
No. 2. Solutions for laying the furnace: types and characteristics
For bricklaying a brick oven, such solutions can be used (the first three more often, the rest less often):
- clay - the cheapest (all components can be found for free), but at the same time, its preparation is the most time-consuming. Its strength is average, but the heat resistance is a record - up to 11000FROM, which allows you to use it in furnaces. The solution has high gas density, i.e. ability to trap flue gases. Despite the fact that difficult to prepare a solution, working with him is easy enough, because he is suitable for unlimited time. If it has dried, moisten a little enough to restore the properties;

- mortar will cost more than clay, more simple to prepare.Strength higher than clay, it withstands temperatures up to 5000FROM, has medium gas density, “does not breathe”, can be used for outdoor work;

- cement-lime ahead of calcareous in strength, but inferior in heat resistance and can withstand only 2500FROMlow gas density;
- clay chamotte repeats the properties of clay, but has a higher heat resistance, which is 13000FROM. It costs more than clay, since fireclay sand will have to be bought, but it is not cheap;

- cement chamotte its properties are close to clay, but it is expensive, and you need to work with it quickly - after 40-50 minutes after mixing it becomes unusable. This solution has high gas and heat resistance, and the strength is almost like that of cement-lime.
When furnishing furnaces, gypsum-lime mortar is also used, but it is used exclusively for facing work.
No. 3. Clay mortar for oven
The set of components for the clay solution to disgrace is simple: clay, sand and water. The difficulty lies in selection of suitable raw materials and optimal ratio of components, which depends on their quality, so many decide not to bother and buy the finished mixture (more on this below). The stoves perform a masonry seam 3-4 mm thick, but if the seams are made thicker, the clay can begin to crack, air is sucked into the cracks, which reduces traction and increases fuel consumption, and also increases the risk of carbon monoxide entering the room. For 100 bricks, on average, about 3 buckets of clay mortar will be needed. The most interesting part of this composition is the ability to disassemble the masonry without damaging the building material.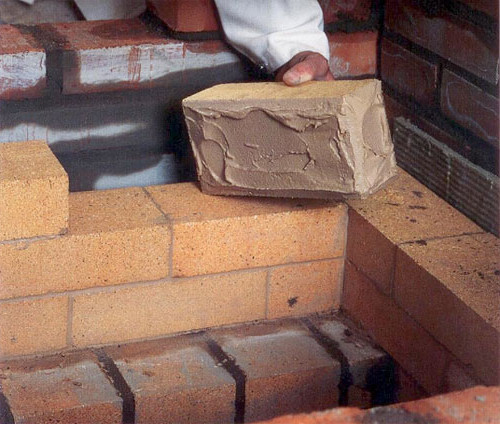
The main parameter of the clay solution is fat content:
- fatty solutions have high ductility, but when dried are able to crack;
- skinny solutions not plastic and crumble upon drying;
- normal solutions give a slight shrinkage, have sufficient ductility, after drying almost do not form cracks.
Accurate the proportions of clay, sand and water to prepare a quality solution can not be called - it all depends on the characteristics of the components. Sand is usually added to clay from 0.5 to 5 parts, the most common ratio is 1: 1 and 1: 2. Water adds about 1/4 part of the clay volume. There are ways make clay solution more durable adding to it table salt (150 g per 10 kg of clay) or cement (1 kg per 10 kg of clay), but if you choose the right raw materials for the solution and mix it in the required proportions, then such additives will not be needed.
Clay quality check
Experienced professionals are able to determine the quality of clay by touch, and everyone else will have to work hard and do some experiments. It is possible to prepare clay mortar for the furnace with minimal financial investments - only labor and time will be needed.
Clay is a common mineral, and it will take a little time to find its way out on or near the site. Only suitable for masonry medium fat clay, the fat content is determined by the ratio of aluminum and silicon oxides: the larger the first, the fatter it is. Checking fat is easy:
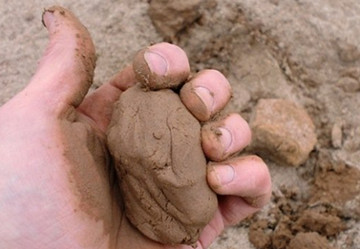
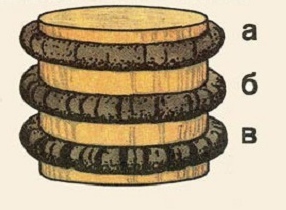
- first way It involves taking a little clay and, after wetting it, to mold a ball with a diameter of 4-5 cm. It is placed between two boards and squeezed, observing when cracks begin to appear. If the clay is skinny, then with a slight pressure the ball will disintegrate into pieces or the cracks will go when it is compressed by 1/5. If the clay is oily, the ball will crack when compressed by 1/2. We need normal clay, the cracks on which are compressed by 1/3;
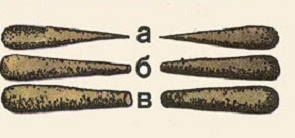
- second way involves the formation of flagella 15-20 cm long and 4-5 cm thick, stretching them and bending around a rolling pin or shovel handle. Greasy clay it stretches smoothly, and the ends at the rupture point will be sharp; when bent around the rolling pin, there will be no cracks at all. Skinny clay breaks off sharply, gives an uneven tear, and when bent - numerous cracks. Normal clay it stretches smoothly, breaks off when the connection becomes too thin (1/5 of the diameter of the bundle), and forms small cracks when bent;

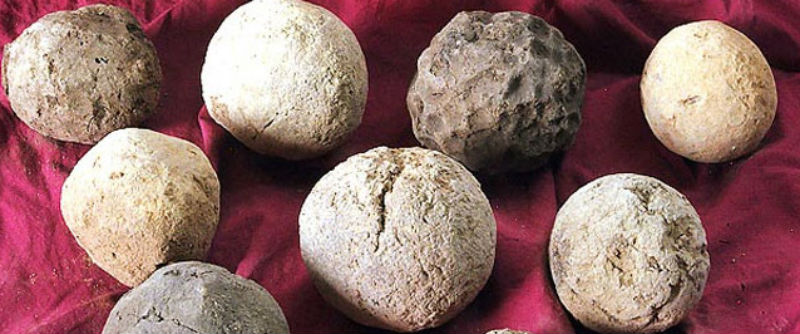
- third way it is supposed to form a ball of steep dough with a diameter of 4-5 cm and pellets with a diameter of 10 cm. When the samples dry after 2-3 days, they are inspected for cracks. Greasy clay it will be covered with cracks, and if it falls from a height of 1 m, the ball will not break. Skinny clay does not crack, but the ball will break when it hits the floor. Normal clay does not crack or crumble;

- fourth way will require pouring 2-3 kg of clay with a large amount of water. After the lumps are broken, the suspension is mixed with a funk. Normal clay leaves separate clumps on it, lean - it covers with a thin layer, and oily - strongly adheres and completely envelops the funky.
Adjust clay fat it is possible by adding sand (for greasy clay) or more greasy clays (for lean). How much water and sand to add to the clay solution depends on the characteristics of the clay available. This will be discussed later.
Sand selection
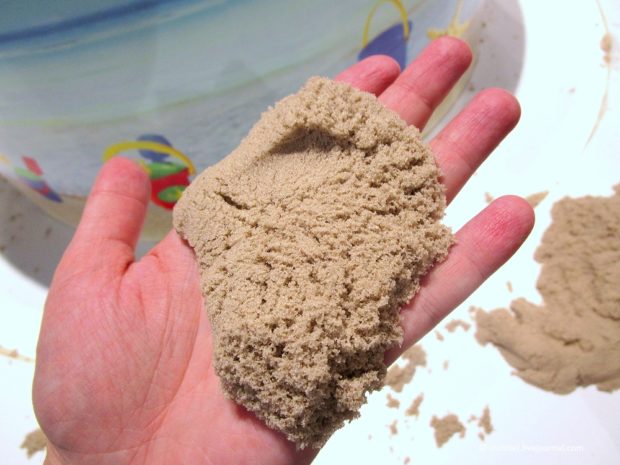
It is possible to use in furnace works white quartz sand, yellowish of feldspar is also suitable, but not for masonry bricks in the furnace zone. Self-digging sand must first sift through a sieve with cells 1.5 * 1.5 mm, which eliminates debris, particles of roots, grass, gravel, etc. It is more difficult to get rid of small organics, which is necessarily present in the sand, and over time can degrade the quality of the masonry. They clean it with washing - this is a cost-effective way, if any independent water supply. Otherwise, it will be cheaper to buy suitable sand, which is already rid of organics by drying or heating.
For flushing as a container, you can use pipe trim with a diameter of 15-20 cm and a height of 3 diameters. Sand is filled to 1/3 and include water. Finish the procedure when within 5-10 minutes the water comes out clear.
If you decide buy sand, it is advisable to take it in several fractions and mix - so the masonry will be stronger. You can mix sand fractions of 0.7-0.9 mm (1 part) and 0.15-0.25 mm (2 parts).
Water preparation
Solution water should be soft and slightly mineralized. Once the stove-makers specially collected rainwater for these purposes, today it is possible to use tap artesian water. Documents indicating the approximate hardness of water should be available for wells located in the area. If the salts of magnesium and calcium in water are more than 250 mg / l, then it is not recommended to use water to prepare the solution, and softening it will require considerable expenses.
How much sand and water to use?
Another difficult point is the determination of the necessary proportions for the future solution. The ratio is determined experimentally:
- the clay sample is divided into 5 equal parts, added to each water, with a volume of about 1/4 of the clay volume. After a day, when the clay becomes sour, it is kneaded, passed through a sieve with a 3 mm cell and again defended for a day. If muddy water is squeezed out after this, it must be drained;
- the first sample is left without sand, in the second 1/5 part of clay is added, in the second - 1/4, in the third - 1/2, in the fourth - 3/4, in the fifth - 1 part. Sand is added in several stages, carefully mixing samples of solutions;
- two tows of 30-40 cm long and 1.5 cm thick are molded from each solution, a ball with a diameter of 4-5 cm and a flat cake with a diameter of 15-17 cm and a thickness of a finger, the samples are marked so as not to get confused, and 2-3 are left to dry days;
- repeat the experiment, as well as with checking clay for fat content: one stretch the tourniquet and look at the nature of the gap, the second - wrap shovels around a rolling pin or handle.A normal solution should give a gap of 1/5 of the original diameter, and when wrapped on the crust and a little under it, small cracks appear. Fatty solution does not crack, skinny - breaks up into slices and breaks with a large gap. This experiment gives mixed results, and several compounds can meet the requirements at oncetherefore, we reject the ones that are definitely not suitable and start throwing balls and cakes from a height of 1 m. Those that have cracked immediately remove them from the “competition”. If the test passes two solutions, increase the height of the drop. We take a proportion of sand such as in the strongest sample.

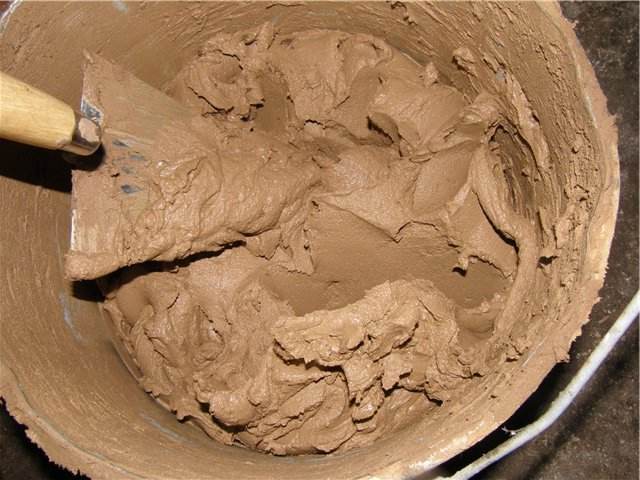
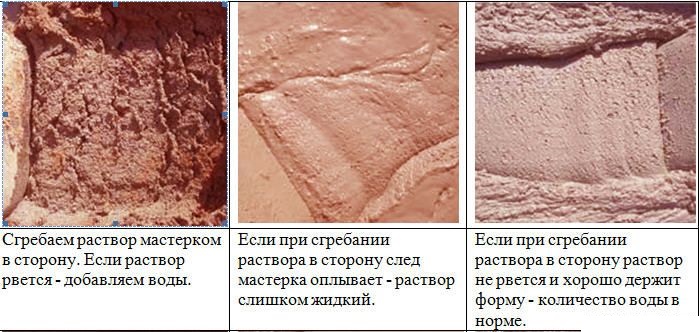
It remains only to find out how much water to use and specify the proportion of sand. To do this, a test batch is made of clay, a selected amount of sand and clean water, while water is added to the eye, about a quarter of the clay volume, and then look at the fluidity of the solution. We make a trowel with a trowel: if it breaks, then water needs to be added, if it swims, the solution should be defended and squeezed out water with sludge, and it is advisable to measure the dishes to remove its amount from the solution added and derive the exact formula. Ideally, a trowel should leave a trace with clear edges, not crumble and not blur.
Refine the proportion of sand all the same trowel will help. It must be soaked in the solution, and if it turned out to be overweight, then a continuous layer of clay will remain on the trowel - sand must be added. Skinny solutions were excluded in the previous step. An ideal composition would be that leaves a thin layer with curly stains on the trowel.
Finally, to make sure that the mortar can be used for masonry, test its strength. We take a brick, apply a solution of 3 mm thick on it, put a second brick on top, press it, wait 10 minutes and lift it by the upper brick. If it was possible to raise two bricks fastened together, then the materials and their proportions were selected suitable.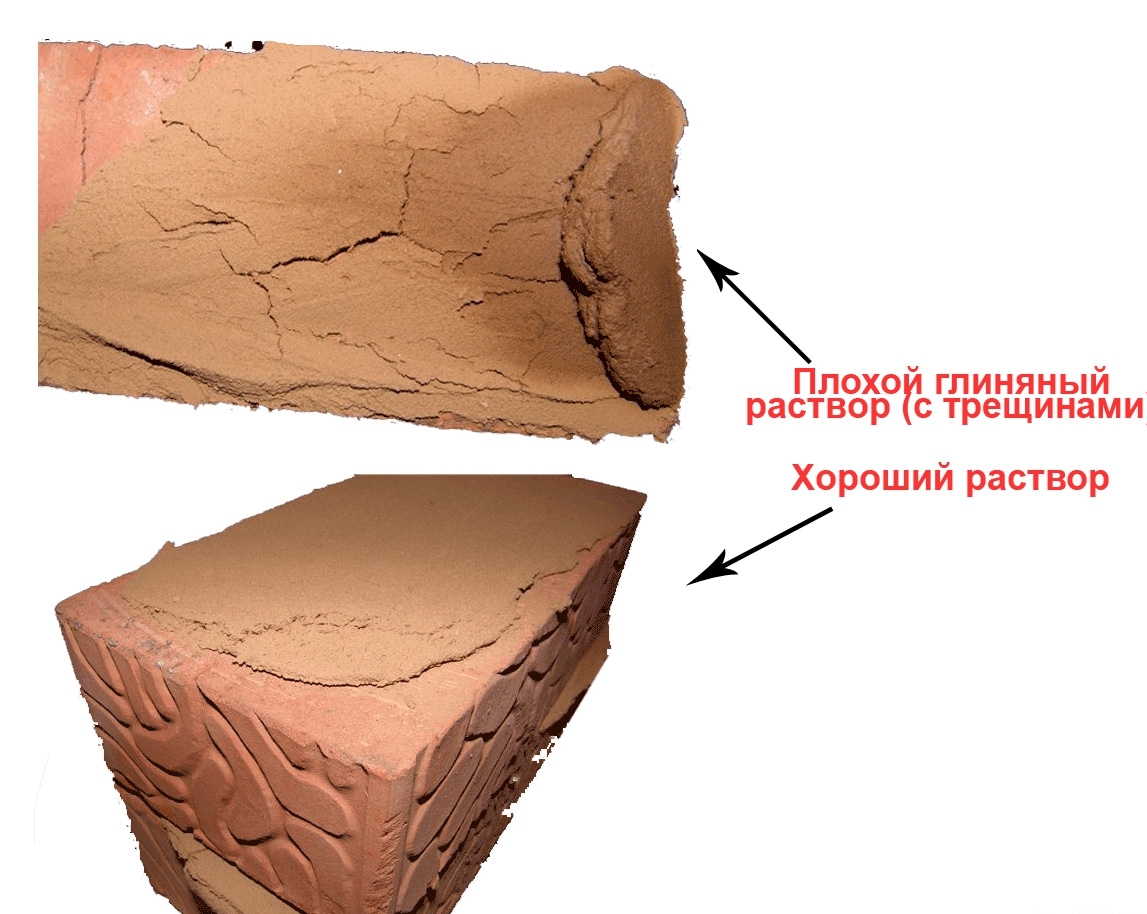
Preparation of clay mortar for the oven
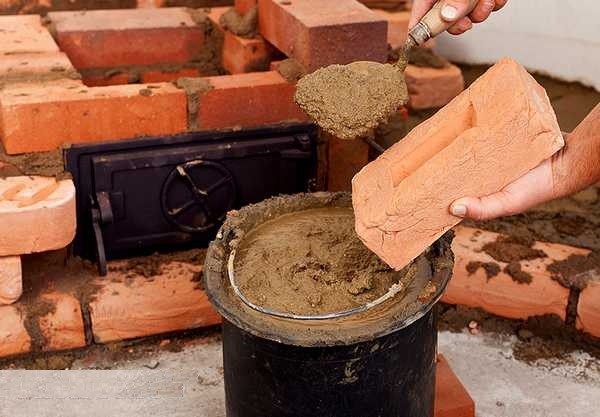
The classic and easiest way to prepare a clay solution begins with fermenting the clay with the necessary amount of water. After its deoxidation (about 1 day), push the mixture through a sieve and add the required amount of sand. It is better to prepare the solution in a large container, for example, a barrel or a tub, stir it with a large planed board (fun), deliver the raw materials in buckets, and put the finished solution to the masonry on a board made of boards (strikers). Ready the solution should slide off the trowel or shovel, not stick to them, but leave a small mark on the surface.
Number 4. Clay-chamotte mortar
For masonry firebox recommend using clay-chamotte mortar, but the stoves correct and allow the use of ordinary clay mortar during the construction of furnaces with a not very intense thermal regime: this is the Dutch and Russian oven, hob, barbecue.
In other cases, you will need a gray, white silt yellowish clay of high fat content. It is laden with chamotte sand, but more often a mixture of quartz and chamotte sand is used in the ratio 1: 1 to save. Water must be used soft, with a hardness of up to 160 mg / l. Preparation does not differ from ordinary clay mortar with one nuance - strength tests are not needed, because it is provided with raw materials.
No. 5. Lime mortar for the furnace
Clay mortar is not strong enough for masonry foundation, and under the influence of condensate in chimney area in general, it can crack, therefore, lime mortar is used for these parts of the furnace. To prepare it you will need:
- lime dough;
- sand;
- water.
Slaked lime is not suitable for these works - it is necessary to take quicklime and extinguish it yourself to obtain a well-known dough. At home, this process is not recommended: it is difficult and dangerous. It is better to buy lime dough in a hardware store ready.
It’s ten times easier to prepare lime mortar than clay. The required amount of self-dug sand is sifted through a sieve with a 1 mm cell, 0.7-0.9 mm fractions are purchased. The presence of organic matter in the sand in this case will not be a problem, the more lime has biocidal properties. You can take ordinary tap water: the requirements for its stiffness are not strict.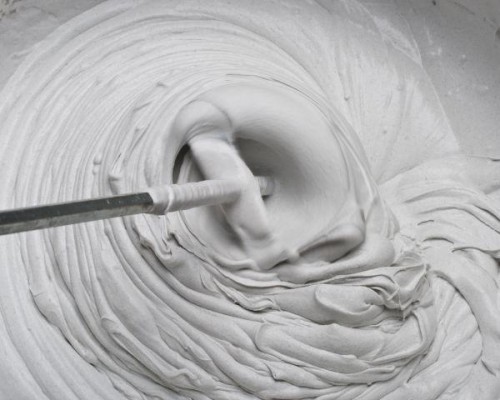
The ratio of dough to sand is 1: 3, the water is added to the consistency of greasy sour cream. You may need to adjust this ratio. The lime dough is well kneaded and sand begins to add to it, starting with 1/2 part. After kneading, they look at the sticking with a solution of oyster: ideally, it should stick to a layer of 2-3 cm, and it is before this effect is obtained that sand is added. Usually, it is about 3 parts, but it can be up to 5.
Final stage - flow test. On a brick we apply a solution of 3 mm, put a second brick on top, tap and observe the behavior of the solution. Ideally, a little solution should appear around the edges that will not drain. If it is not squeezed out, it is necessary to add a little water, drains - add lime test, since the amount of sand necessary to ensure proper ductility was determined at the previous stage.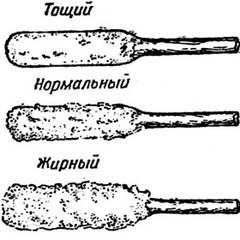
No. 6. Cement-lime mortar
Cement-lime mortar is even stronger than lime, and cement will need nothing at all, and the higher its grade, the smaller its amount will be used. You will need a ratio of cement, dough and sand 1: 2: 10. First, water is added to the lime dough, it is kneaded and cement is added without stopping stirring, then sand is added and the solution is kneaded. The exact amounts of sand and water are best determined in a small test batch.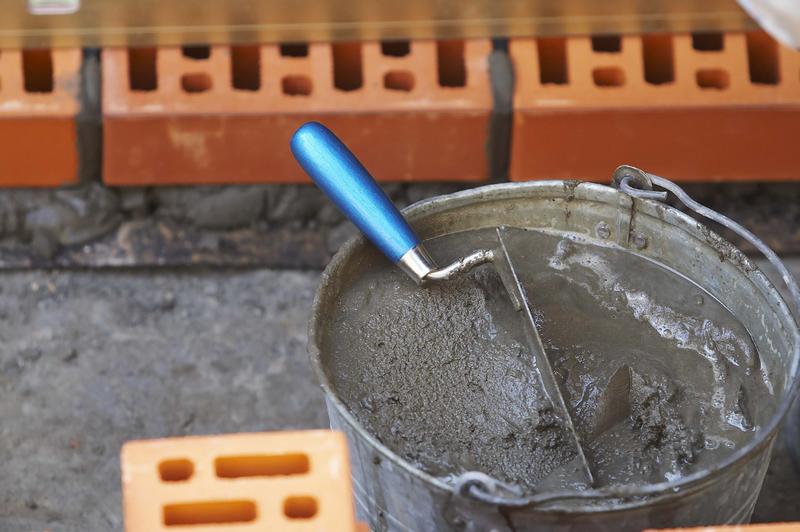
Number 7. Ready mixes for masonry furnaces
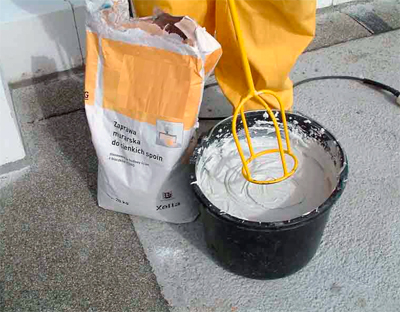
Those who fear that they can’t cope with the selection of clay and proportions can opt for ready mixes for stoves. They are for sale in dry form, and their preparation consists in adding water and thoroughly mixing. Everything is very simple and fast, but experienced stove-makers are still advised to bother and prepare the clay solution with their own hands.
Ready-made dry mixes for stoves are:
- simpleconsist only of clay and sand. This is the most economical and optimal option;
- improved with the addition of plasticizers and lingosulfates, which increase the strength and refractoriness of the solution, increase resistance to sudden changes in temperature and humidity;
- heat resistant mixtures of clay and chamotte filler. Such formulations can withstand up to 13000C and suitable for laying the furnace part.

If cement is indicated in the mixture, then it is better to refuse the purchase. How much ready mix for masonry is needed 100 bricks, it’s hard to say, because the same composition of one manufacturer from batch to batch and even from bag to bag can be very different. As for manufacturers, then in stores mixtures from a number of domestic companies are presented, including "Terracotta "," Plitonite "," Pechnik ", Termix, from Borovichi, Kostroma and Yaroslavl brick factories.
Finally
It is better to devote sufficient time to the selection of suitable components and the determination of the necessary proportions. If the solution for the masonry of the furnace is not prepared correctly, the design will allow flue gases to pass, have insufficient draft, or even crumble and crack.

