Wall decoration with decorative artificial stone
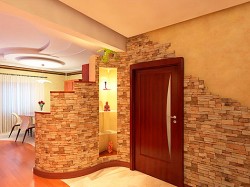
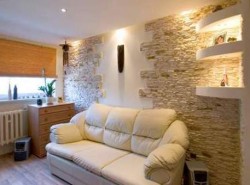
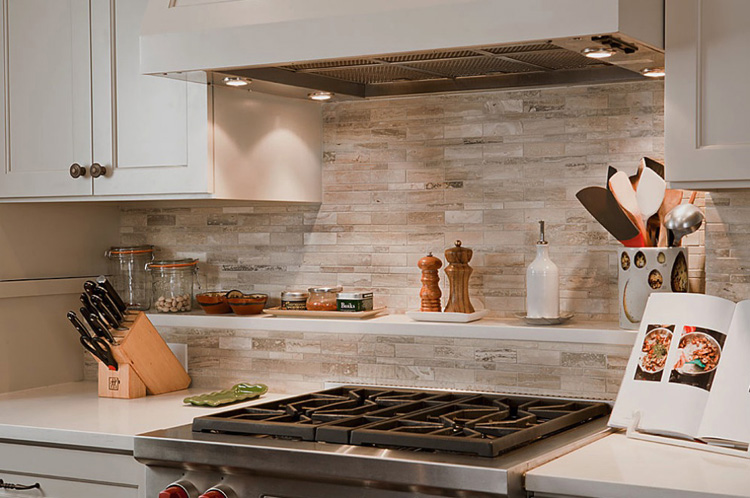
Although a decorative stone is not quite the material that can be used for, so to speak, solid wall decoration, but it can be effectively combined with other materials, to highlight zones, to place accents. Moreover, such decoration gives the room sophistication, shades of naturalness, it can even help turn an ordinary room into a part of a medieval castle.
Let's try to figure out the main advantages of decorative stone as a finish, how to properly prepare surfaces for its laying, and how to properly lay decorative stone yourself.
The advantages of decorative stone
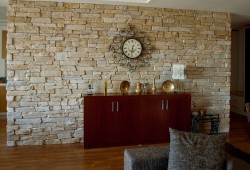 Of course, not only artificial stone, but also natural can be used as decoration. However, now we will focus our attention on its artificial counterpart, since it is more practical: natural stone is very heavy and expensive, which makes it less popular in the modern market. That is why we immediately turn to the main advantages of artificial decorative stone:
- compared to natural stone, he easier at times, which pleases, because you do not have to further strengthen the foundation;
- durability artificial stone can be compared with natural analogues, i.e. this coating is not for a couple of years;
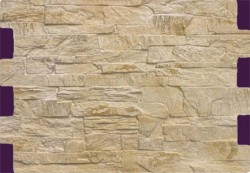
- diversity possible shapes, sizes and colors are simply amazing: you can make a wall under brick, granite, shell rock, etc., especially since there is always the opportunity to order the manufacture of a stone of the desired design, or even make it yourself, which is not so difficult;
 artificial stone is enough easy to install, because the back side of it is completely flat, which can not be said about natural stone, so there should not be any special difficulties;
- another plus - universality in terms of possible surfaces. So, artificial stone can be laid on top concretebrick, wood and metal walls;
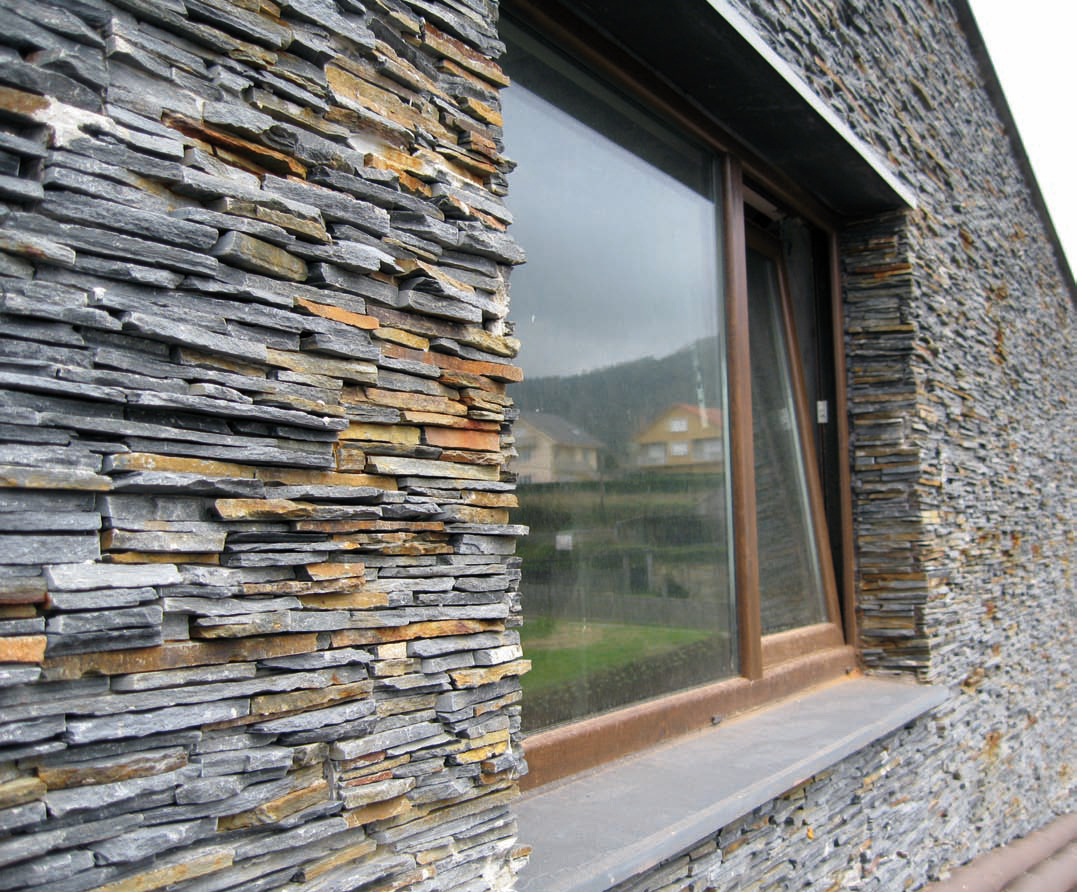
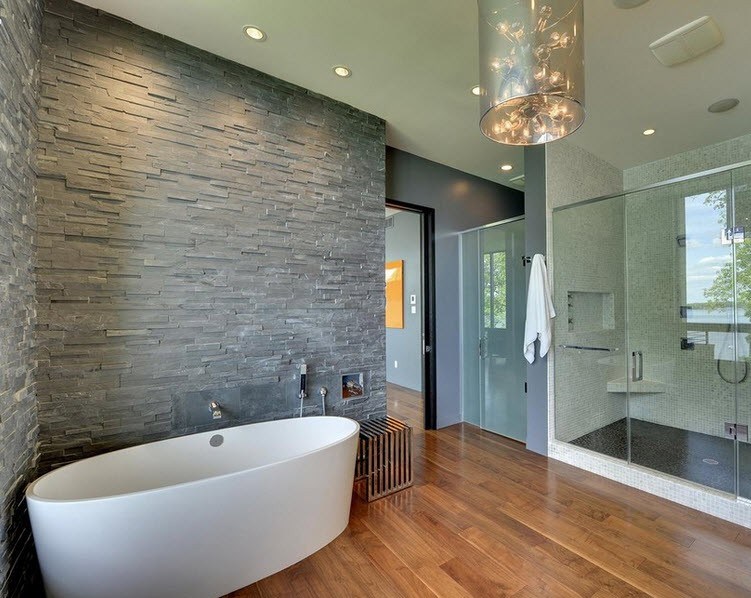
- this coating not afraid of fire, therefore, it can be used for decorating stoves and fireplaces, which looks very nice in the interior. Stone is also used in pools, saunas and bathtubs, since its water absorption is small, and an additional hydrophobic protective film completely eliminates the effect of moisture on the material. In addition, the stone is very resistant to fungal influences, to temperature extremes, direct sunlight, therefore it can be used in almost any room;
 opportunities to harmoniously fit artificial stone into the interior - a lot. It goes well with wood and with plaster, and with forged products, so that fits into almost any interior. It is good to accent certain elements in the interior with a stone: the columns, arches, niches, doorways, fireplaces, separate walls, the head of the bed, etc., but to completely lay out all the walls with stone is not a good idea. It is very simple to get here not a stylish room, but a cold castle;
- care it’s not difficult to get behind the stone - as needed, you just need to wipe it with a damp cloth, you can use detergent, but do not use abrasive substances and cleaning agents.
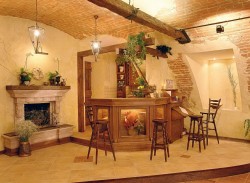 It is also worth noting that you need to be very careful with the stone in narrow dark rooms - there it should be used only in a minimal amount or not at all.Also, be careful with the lighting: the more stone is used in the room, the brighter the artificial lighting should be, so as not to make the room dark and dull.
As for the flaws, then they are difficult to distinguish, since depending on the composition of the artificial stone, they can be different. So, there are species that are not very resistant to abrasion, others are afraid of moisture and require the use of protective equipment, and others are afraid of high temperatures and the influence of chemicals. But here the choice is based on in which room the stone will be used, so that the flaws can not even be noticed.
Types of Artificial Stone
Depending on the composition, method of preparation and scope of use, artificial stone can be divided into three types:
 porcelain tile consists of clay, feldspar, mineral and coloring additives. All this is mixed and pressed under high pressure, and then burned. Porcelain stoneware looks more like tiles than stone, it can be glossy or matte, have a different texture, convey the relief of many natural stones. Its main advantage is durability and resistance to temperature changes, but resistance to chemicals is not very high;
- agglomerates - A type of artificial stone, which consists of polyester resin, and marble, granite chips, other additives. Such material can have almost any color and shape, which allows you to accurately simulate
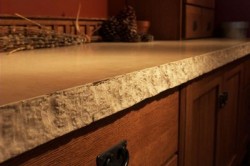
 surface of natural stone. Agglomerates withstand temperature extremes, are very strong and durable, but there are also disadvantages: low resistance to chemicals, direct sunlight, high friability. As for strength, it largely depends on what minerals are part of the stone: for example, quartzites, for example, will make the stone very strong and durable. All these properties determine the use of such a stone as a finish for furniture;
 - colored stone concrete - This is just the material that is used most often when decorating walls. It consists of Portland cement, sand, various additives that affect color, strength, etc. So, even a fiberglass mesh can be used as a reinforcing base, which will bring the artificial stone closer in strength to natural and even to metal.
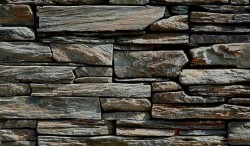 In any case, the artificial decorative stone has a natural basis, which means that you can add it to the list of advantages environmental friendliness.
Surface preparation
Preparation of walls for laying decorative artificial stone begins with an assessment of their condition. They should be even, smooth and strong enough to withstand future stress. Deserves special attention flatness of walls: the deviation should not be more than 2 mm per 2 meters of the wall. Especially this rule should be adhered to if you are laying smooth stones, such as river stone or brick - then all the bumps can affect the appearance and strength of the finished coating. If coarser stones of different shapes are used, then the evenness of the wall no longer plays such a decisive value, and the deviation may be slightly higher than indicated, because due to the relief of the stone, the differences are leveled. But still, the tubercles in the wall should be cleared, and the holes and cracks should be puttied.
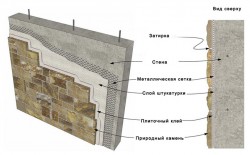 Next is to wall plaster with laying reinforcing mesh, although for some types of decorative stones you can do without a mesh, as their weight is not very large. But plastering some wall defects still have to.
Naturally, before embarking on such a finish, you need to get rid of traces of old finishing materials: paint, wallpaper, plaster. Getting rid of them is not very difficult: wallpaper can be removed with a spatula, sometimes wetting them with plain water will help. Paint can also be removed with a spatula. construction hairdryer or use solvents.
When everything hardens, the wall needs to be primed and proceed to glue preparation. So, for stone it is best to use special glue for stone: it is prepared according to the instructions, according to which most often you need to pour powder into a certain amount of water, mixing the mixture in parallel with a construction mixer. The result is a thick adhesive ready for use.
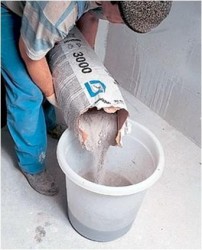 As glue, you can also use liquid nails, glue for ceramic tiles and even cement-sand mortar. The latter is added with additional PVA construction glue, as well as plasticizers.
Before proceeding with the direct laying of decorative stone, you need to clearly imagine how everything should look in the end. Desirable draw a sketch where to take into account what part of the wall the stone will occupy, what shape this area will be, how the stones will be laid - butt or with the formation of a seam, how many stones will be needed at all, because it is difficult to cut them without losing their appearance.
The completed drawing is transferred to the wall to make it easier to navigate during the installation process. Moreover, if the area with the stone in some place should have a smooth edge, for example, near the floor or in some part of the wall, then it is better to install limiters in advance - corners that are attached to the wall. In this case, the exterior of the wall will look quite aesthetically pleasing.
Necessary tools for laying decorative stone
- selected type of glue;
- container for glue;
- spatula or trowel for applying glue;
- drywall, cardboard, crosses for tiles to form a seam of the required thickness;
- level to monitor the evenness of the masonry;
- grout or putty and a sponge or gun for its application;
- hydrophobic protective layer and a roller for its application.
Laying decorative stone
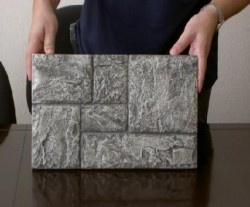 It is not difficult to lay the stone: the glue is applied with a spatula with a comb or trowel to the width of the row, which is laid first, and then the stones are glued alternately, carefully pressing them. Moreover, if excess solution flows out, then they must be removed as soon as possible so as not to spoil the appearance of the stone. If the installation is end-to-end, each next stone carefully leans against the previous one. If a seam between the elements is needed, in order to make it even, you can use, for example, pieces of drywall - the seam turns out to be wide, but it looks very good with individual types of stones. You can use cardboard - its advantage is that you can choose the width. You can also use crosses for tiles: it will be quite convenient, and you won’t have to cut anything.
Start off gluing is better from the corners of the room, laying in one row: the next row is better not to start until the previous one is ready. As for where to start laying - top or bottom - then there are no rules, but if you start from the bottom, then parts of the solution may fall on the already laid out stone.
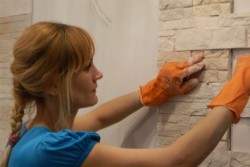 Please note that some types of decorative stone, such as bricks, are best stacked with offset to achieve a more natural result. If you need pieces of a whole stone, it is best to use a grinder or a special machine for cutting ceramic tiles.
When the whole stone is laid out and the solution has dried up, and this happens after a couple of days, auxiliary elements can be removed. If there are seams between the stones, then you need to prepare a grout: it is difficult to apply it with a rubber spatula, as is the case with ceramic tiles, so grouting can be done with a sponge or even with a damp cloth wound around your finger. You can use silicone grout, which is applied using a gun, which is very convenient.
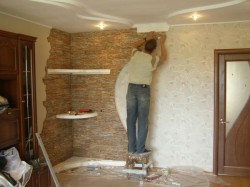 Grout usually consists of cement glue mastic, which can be tinted in a certain color to improve the decorative effect, and putty can also be used.If the cement composition was used as glue, then when it is squeezed out from pressing stones, it forms a sufficient amount to use it as a grout. When the solution hardens a little, it can be leveled with a wooden spatula to give the necessary shape. This is a great way to simulate masonry. Otherwise, we proceed according to the above scheme. After all the work done, it is necessary to check whether parts of the solution or glue have got on the stone, and if necessary, remove them with a dry cloth.
Top stone is not necessary, but in some cases it is simply necessary to cover protective layer. So, if the stone is in constant contact with moisture, if people will be in constant contact with it, if the stone was painted on top, then it is better to use a protective layer. As the latter, water-based compositions that are more pleasant to use, or based on solvents, which create a more durable film on the surface of the stone, are used. Apply such formulations using a roller or spray.
Care behind a decorative artificial stone is not difficult - it will be enough just to wipe it with a damp sponge, sometimes with a detergent, to clean it of possible impurities.


Hello!
please tell me how, with what to smooth the protrusions of the artificial stone in some places when it is already laid. Seamless laying, butt was. Just some elements are too protruding and it is very annoying and not comfortable. Can I mix some mixture, additives with color? I do not know.
Thanks. Really looking forward to your advice.
It is very difficult to give any advice without a visual example. If possible, add a photo of your problem, we'll see, maybe we’ll come up with something. Perhaps other readers will advise something.
Of course, this situation is a consequence of the mistakes made at the laying stage, the stone must be selected in the process. Sometimes it is advisable to combine a stone from different parties. But here, again, it is not clear which stone was laid and how many such flaws. In general, you need to watch.
Ha ha ha “It is also worth noting that you must be very careful to be with the stone in narrow dark rooms .......
He rapes that)))